
No products in the cart.

How to Use an Electric Breast Pump for the First Time
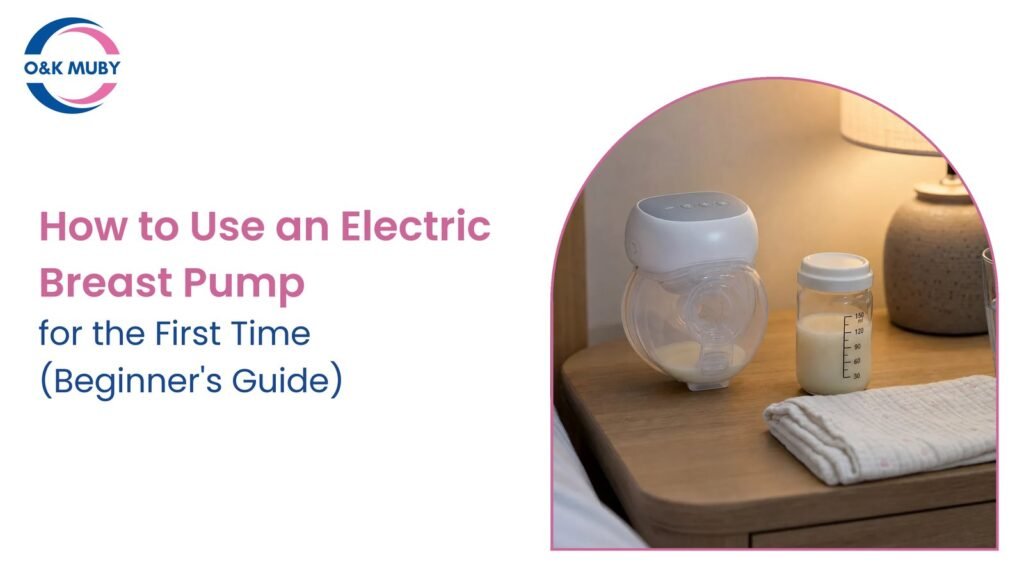
Using an electric breast pump for the first time can feel strangely technical for something so personal, especially if you have searched for electric breast pump how to use guidance and found too many steps at once. You are not just turning on a device. You are learning how your body responds, how the pump fits and how to handle expressed milk safely.
The aim of your first session is not to fill a bottle. It is to get comfortable, learn the controls and avoid soreness. A few drops can still be a successful first attempt, especially in the early days after birth.
Use your own pump manual as the final guide for assembly, cleaning and settings. If pumping is painful, your nipples are damaged, your baby is not feeding well or you have symptoms such as fever, breast redness or flu-like aches, contact your midwife, health visitor, GP or an IBCLC.
💙 Keep Pumping Simple with O&K MUBY
Thoughtfully designed wearable breast pumps to fit into your daily routine.
Explore the O&K MUBY CollectionBefore you start: set yourself up properly
Choose a time when you are not rushing. Many mums find the first morning pump easier because milk supply can be higher earlier in the day, but comfort matters more than timing. If your baby is already here, you might prefer to practise after a feed so you feel less pressure to collect a full bottle.
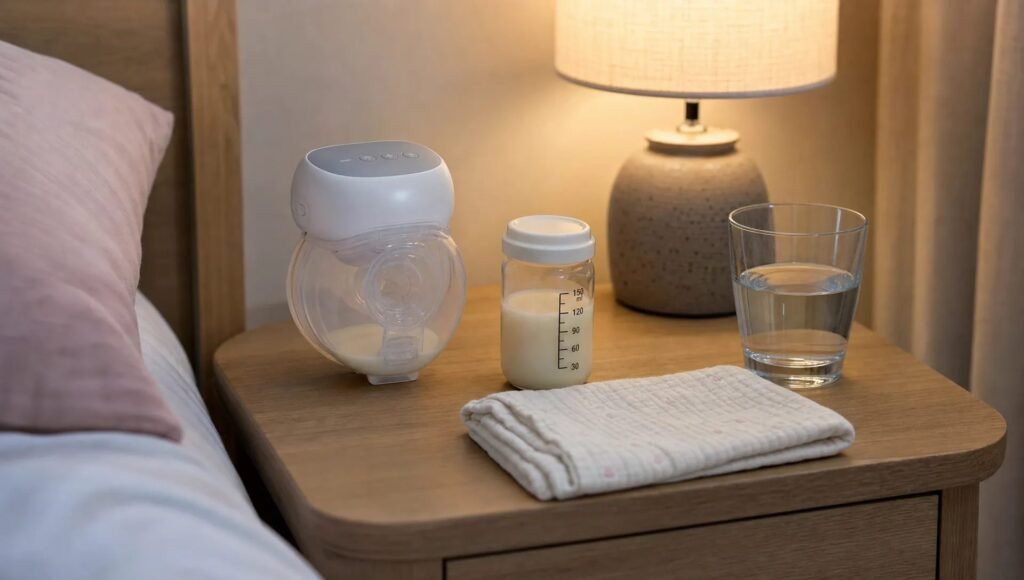
Before you sit down, have these within reach:
- Your electric breast pump, fully charged or plugged in
- Clean, dry milk collection parts
- A sterile bottle or milk storage bag
- A clean muslin or cloth
- A glass of water
- Your pump manual
- Labels or a pen for dating expressed milk
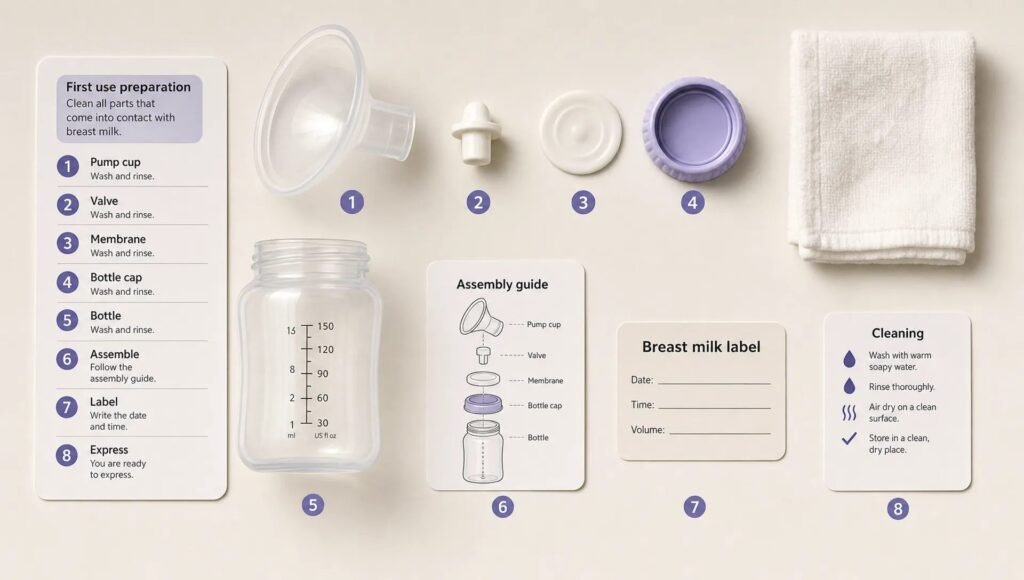
Wash your hands well with soap and water before touching pump parts or milk storage containers. If your pump is new, wash and sterilise the parts that will touch your breast or milk before the first use, following the manufacturer’s instructions.
Check the parts before switching on
Electric pumps rely on a good seal and flexible parts such as valves, membranes and shields. If one piece is not clicked in properly, suction can feel weak or milk can leak into places it should not go.
Lay the parts out on a clean towel and assemble them slowly the first time. With wearable pumps, pay close attention to the order of the flange, valve, diaphragm, collection cup and motor unit because a small assembly mistake can affect suction.
Make sure the flange is the right size
Flange fit is one of the biggest reasons first pumping sessions feel uncomfortable. The flange is the part that sits over your nipple and areola. Your nipple should move freely in the tunnel without rubbing the sides, and only a small amount of areola should be drawn in.
A flange that is too small can pinch. A flange that is too large can pull in too much breast tissue and cause swelling or soreness. If you are not sure what size you need, this guide on how to measure breast pump flange size at home will help you check before you pump.
Electric breast pump how to use: step by step
Every model is a little different, but the basic process is similar for most electric pumps. Wearable pumps add one extra consideration: alignment matters before you put the pump inside your bra.
- Wash your hands and prepare your space: Sit somewhere supported, relaxed and upright. Put your milk container, labels and cloth nearby so you do not need to move once pumping starts.
- Assemble the pump: Connect the clean, dry parts exactly as shown in your manual. Check that valves and membranes are flat, secure and not twisted.
- Place the flange over your nipple: Centre your nipple in the tunnel before suction begins. Your nipple should point straight into the flange rather than being angled up, down or sideways.
- Create a gentle seal: Hold the breast shield against your breast without pressing hard. If you are using a wearable pump, place it inside a supportive bra once the nipple is aligned.
- Start on the lowest suction: Begin with a light stimulation or massage mode if your pump has one. This usually uses quicker, gentler suction to encourage let-down.
- Increase gradually only if it feels comfortable: Move up one level at a time. Stronger suction does not always mean more milk, and discomfort can make milk flow slower.
- Switch to expression mode after let-down: When milk starts to drip or spray, use the slower expression setting if your pump has separate modes. Some pumps do this automatically.
- Pump for a short first session: For a first try, 10 to 15 minutes is often enough to learn the feel of the pump. Stop sooner if you feel pain.
- Turn the pump off before removing it: Break the seal gently with a clean finger if needed. Do not pull the flange away while suction is active.
- Cap and label the milk: Store expressed milk promptly using a clean container marked with the date and time.
Using a wearable electric breast pump
With a wearable electric breast pump, keep your body upright during pumping. Bending forward, lying down or wearing a very loose bra can affect the seal and may cause leaking. The pump should feel secure, but not compressed so tightly that it digs into your breast.
What your first pumping session may feel like
A first pumping session can feel odd, but it should not be painful. You may feel a tugging rhythm, warmth, tingling or a pulling sensation as your milk lets down. Some mums also feel mild uterine cramps in the early postpartum days because oxytocin is involved in both milk release and uterine contractions.
The amount of milk you collect can vary widely. If you are expressing colostrum in the first few days, you may only see drops. Colostrum is thick and produced in small amounts, so it can cling to pump parts and look like less than it is. In very early breastfeeding, hand expressing can sometimes be more effective for collecting colostrum, so ask your midwife if you are unsure.
One breast may produce more than the other, and one side may respond faster. That is normal. Try not to judge your supply from a single pumping session, especially if you have just fed your baby, you are stressed or you are still learning the pump.
Pain is different from unfamiliar pressure. Stop and reassess if your nipple rubs, blanches, turns purple, swells into the tunnel or feels sore after pumping. The usual causes are suction set too high, a poor flange fit or nipple misalignment.
Choosing modes and suction levels
Most electric breast pumps offer more than one mode or suction level. The best setting is the one that removes milk comfortably, not the highest level you can tolerate. When learning electric breast pump how to use basics, comfort is a better guide than strength.
| Setting | What it usually does | First-time approach |
|---|---|---|
| Stimulation or massage mode | Uses faster, lighter suction to encourage let-down | Start here on the lowest comfortable level |
| Expression mode | Uses slower, deeper suction once milk is flowing | Increase gradually, stopping before discomfort |
| Mixed or automatic programmes | Switches between rhythms depending on the pump | Watch how your body responds and adjust if needed |
| Heated comfort mode, if included | Adds warmth around the breast area | Use for comfort, not as a way to force milk flow |
If your pump has memory settings, wait until you have found a comfortable routine before relying on them. Your breasts can feel different at different times of day, especially in the early weeks, so a setting that felt fine yesterday may feel too strong today.
How long should you pump for the first time?
For a first attempt, think in terms of practice rather than output. Many mums start with 10 to 15 minutes, then adjust once they understand their let-down pattern and comfort level.
| Situation | Sensible first-session aim |
|---|---|
| Practising after a breastfeed | A short 5 to 10 minute session may be enough |
| Replacing a feed with pumping | Around 15 to 20 minutes may be more appropriate |
| Pumping to relieve fullness | Express only until the breast feels more comfortable |
| Exclusive pumping or supply concerns | Ask a midwife, health visitor or lactation consultant for a tailored plan |
Avoid long sessions at high suction just because you collected less than expected. Overpumping can make nipples sore and may increase swelling. Comfort and consistency usually matter more than pushing through one intense session.
If you are trying to build a regular pattern, choose a time of day you can repeat. A routine does not need to be rigid, but it should fit real life. Once the first session feels manageable, you can start thinking about frequency, storage needs and how pumping fits around feeds, sleep and work.
After pumping: store breast milk safely
Freshly expressed breast milk needs clean handling and prompt storage. The NHS guidance on expressing and storing breast milk gives clear UK advice for healthy full-term babies.
| Storage place | NHS guidance |
|---|---|
| Cool room temperature | Up to 6 hours |
| Fridge at 4°C or lower | Up to 8 days, or 3 days if you are not sure of the fridge temperature |
| Ice compartment inside a fridge | Up to 2 weeks |
| Freezer | Up to 6 months |
Label milk with the date and time, then store it at the back of the fridge where the temperature is more stable. If you are freezing milk, leave a little space at the top of the container because milk expands as it freezes.
If your baby is premature, unwell or in neonatal care, follow the advice from your hospital team. Storage rules can be stricter for babies who need extra medical support.
Cleaning the pump after your first session
Cleaning is part of learning electric breast pump how to use safely. Milk residue can dry quickly in valves, flanges and small channels, so take the pump apart as soon as you can after expressing.
Separate every part that has touched your breast or milk. Wash these parts in hot soapy water, rinse thoroughly and leave them to air dry on a clean surface, unless your pump instructions say otherwise. Sterilise according to the manufacturer’s guidance and your baby’s needs.
Do not submerge the motor unit or electrical controller unless the manual specifically says it is waterproof. Wipe non-milk-contact areas with a clean, damp cloth if needed.
If you want a more detailed cleaning routine, including timing and methods, this step-by-step guide explains how long to boil breast pump parts without guessing.
Common first-time problems and what to do
Most first pumping problems are fixable. Start with fit, assembly and suction before assuming the pump is not working for you.
| Problem | Likely cause | What to try |
|---|---|---|
| Little or no milk comes out | Stress, recent feeding, no let-down yet or weak seal | Lower the suction, check alignment, try warmth and give yourself a few minutes |
| Pumping hurts | Suction too high, flange size wrong or nipple off-centre | Stop, lower the setting and check flange fit before restarting |
| Nipple swells during pumping | Flange may be too large or suction may be too strong | Try a better flange size and reduce suction |
| Milk leaks from a wearable pump | Cup not assembled tightly, bra too loose or body angle too tilted | Reassemble parts, sit upright and use a supportive bra |
| Suction feels weak | Valve or membrane not fitted correctly, battery low or parts damp | Check assembly, charge the pump and let washed parts dry fully |
| Milk flow stops quickly | Let-down ended or setting no longer suits your body | Switch briefly back to stimulation mode or pause and try again later |
A pump should not leave you dreading the next session. If you keep feeling pain even after checking flange size and settings, ask for skilled feeding support. A lactation consultant can watch a pumping session and spot small fit issues that are hard to identify alone.
First-time mistakes to avoid
The most common mistake is using too much suction too soon. It is understandable to think stronger suction will remove more milk, but your body usually responds better to comfortable, rhythmic stimulation.
Another mistake is pressing the flange hard into the breast. A firm seal is enough. Pressing too deeply can compress milk ducts, cause tenderness and make it harder for milk to flow.
Do not keep removing the pump every minute to check output. That breaks the seal and can interrupt let-down. If you are using a wearable pump with a visible collection cup, try to glance occasionally rather than watching constantly.
Finally, avoid comparing your output with someone else’s. Pump volume depends on your baby’s age, time since last feed, breast storage capacity, stress, hydration, flange fit, pump settings and many other factors. One session is a snapshot, not a verdict.
Make first-time pumping feel less complicated
The right pump cannot remove every learning curve, but it can make those first sessions feel calmer. O&K MUBY designs wearable electric breast pumps for mums who want hands-free comfort, quiet motor technology, BPA-free materials and practical features for daily use.
If you are choosing a pump for the first time or upgrading from a bulky setup, explore the O&K MUBY hands-free electric breast pump collection and choose a model that fits your routine, your comfort needs and your life with a baby.
Frequently asked questions
Does using an electric breast pump hurt the first time?
It may feel unfamiliar, but it should not hurt. Pain usually means the suction is too high, the flange size is wrong or your nipple is not centred properly. Stop and adjust rather than pushing through.
How much milk should I get the first time I pump?
You may get anything from a few drops to a full feed. In the first days after birth, small amounts of colostrum are normal. If you are worried about your baby’s intake, speak to your midwife or health visitor.
Should I pump before or after breastfeeding?
If you are practising, pumping after a feed can feel less pressured. If you are replacing a feed, pump around the time your baby would usually feed. For supply concerns or exclusive pumping, get personalised advice.
Can I use a wearable electric breast pump lying down?
Most wearable pumps work best when you are upright. Lying down or leaning too far forward can break the seal or cause leaking, so check your manual before changing position.
Do I need to sterilise pump parts every time?
Follow your pump instructions and current UK feeding guidance. Parts that touch milk should be washed after each use, then sterilised as recommended for your baby’s age and health needs.
💙 Keep Pumping Simple with O&K MUBY
Thoughtfully designed wearable breast pumps to fit into your daily routine.
Explore the O&K MUBY Collection