
No products in the cart.

How to Keep Good Electric Breast Pumps Working for Longer
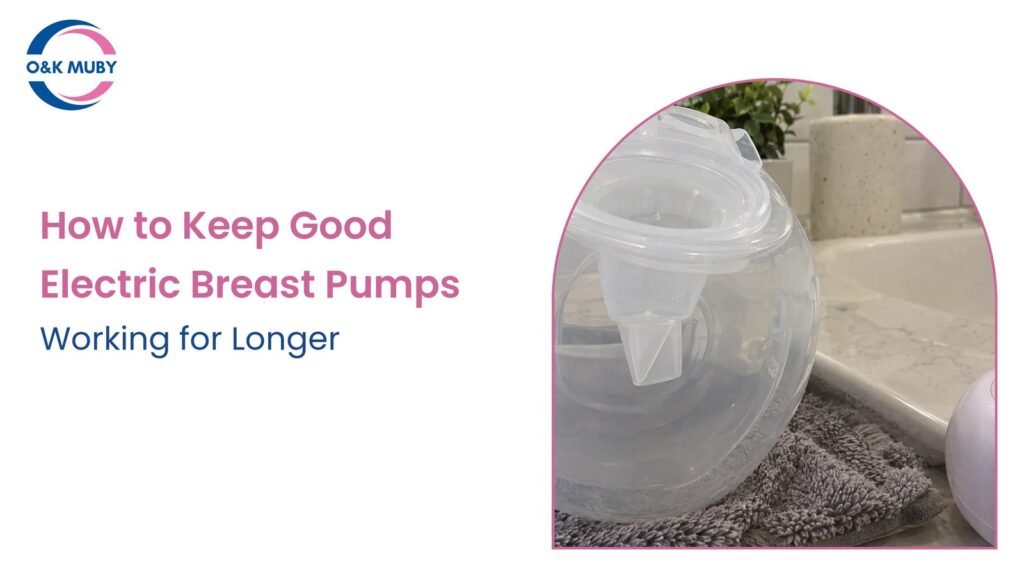
Even good electric breast pumps need regular care to keep their suction consistent and their components in sound condition. Milk residue, damp storage, worn valves and rough handling can all affect performance, sometimes making a working pump seem ready for replacement.
The aim is not to make every original part last indefinitely. Some components are consumables and need replacing as they wear. A sensible maintenance routine protects the motor, catches small problems early and keeps milk-contact parts safe to use, without adding unnecessary work to your day.
💙 Keep Pumping Simple with O&K MUBY
Thoughtfully designed wearable breast pumps to fit into your daily routine.
Shop O&K MUBY Breast PumpsUnderstand which parts need protecting
A wearable pump combines components with very different care requirements. The collection cup and flange come into contact with milk, flexible valves help control milk flow and suction, and the motor contains electrical parts that must stay dry.
Before cleaning anything, check your model’s instructions and identify which pieces detach. Do not assume that a component is washable, dishwasher-safe or suitable for steam sterilising because a similar-looking part on another pump is.
Keep the manual somewhere accessible, along with the model name and order details. These make it easier to buy compatible replacements or explain a fault to customer support later.
Even good electric breast pumps depend on small, inexpensive components to maintain an effective seal. Looking after those parts, and replacing them when necessary, can prevent you from mistaking ordinary wear for motor failure.
Clean thoroughly without damaging components
Follow the correct washing and sterilising process
Wash your hands before handling clean parts. After expressing, take apart the milk-contact components as directed, wash them thoroughly and follow the manufacturer’s sterilising instructions. The NHS guidance on expressing breast milk recommends sterilising your breast pump and collection container before use. For an electric pump, this does not mean immersing the motor or other electrical components.
Use the cleaning products and equipment permitted by the manual. Avoid abrasive scourers and do not push a brush through a delicate valve opening, as this can damage the edges that need to seal together.
If boiling is an approved method for your particular parts, our guide to boiling compatible breast pump components explains the practical steps. The model’s own temperature and timing instructions should take priority. BPA-free materials are not automatically suitable for every heat treatment.
Let every washable part dry completely
Allow washed and sterilised components to dry fully in a clean area, following the instructions for your chosen sterilising method. Avoid sealing damp parts inside a carry case or assembling them around the motor.
Thorough drying helps protect good electric breast pumps from avoidable moisture problems and keeps stored parts from becoming a damp environment for contamination. Do not use a tea towel that has already been used around the kitchen to speed things up.
Wipe the motor exterior only as directed. Keep water away from charging ports, buttons and ventilation openings. If milk or water enters the motor, stop using it and contact the manufacturer rather than switching it on to see whether it still works.
Check valves, membranes and seals regularly
Flexible silicone parts can look almost normal while no longer sealing properly. During cleaning, inspect valves, membranes and seals for splits, distortion, persistent stickiness or edges that no longer sit together as intended.
Handle these parts gently. Pulling a valve off by its thin tip, stretching a membrane or repeatedly forcing a seal into the wrong position can shorten its useful life. Remove and refit components using the method shown in the manual.
There is no universal replacement timetable that suits every pump and every expressing routine. Follow the manufacturer’s schedule, then replace a component sooner if it is damaged or no longer works correctly. Frequent use may mean more frequent checks.
Use replacements approved for the exact model. A valve that looks close enough may still have a different shape or stiffness. Keep a compatible spare if interruptions would make your feeding routine difficult, but store it clean, dry and protected from crushing.
Battery care for good electric breast pumps
Use the charging cable and power supply specified by the manufacturer. A connector fitting into the port does not, by itself, confirm that a charger is suitable.
Charge the pump in a dry place on a stable surface, away from sinks, direct sunlight and heat sources. Keep the charging port clear of moisture and residue. If a connection becomes unreliable, check for visible damage rather than repeatedly bending the cable until it makes contact.
Follow the manual’s guidance on charging frequency and longer-term storage. Do not deliberately run the battery flat before every recharge unless the instructions specifically require it, and do not assume the pump can be used while charging.
If your model has a heated comfort mode, check its operating and charging guidance separately. Never try to warm the motor or collection assembly with a radiator, hot-water bottle or other improvised heat source.
Store and transport your pump without crushing it
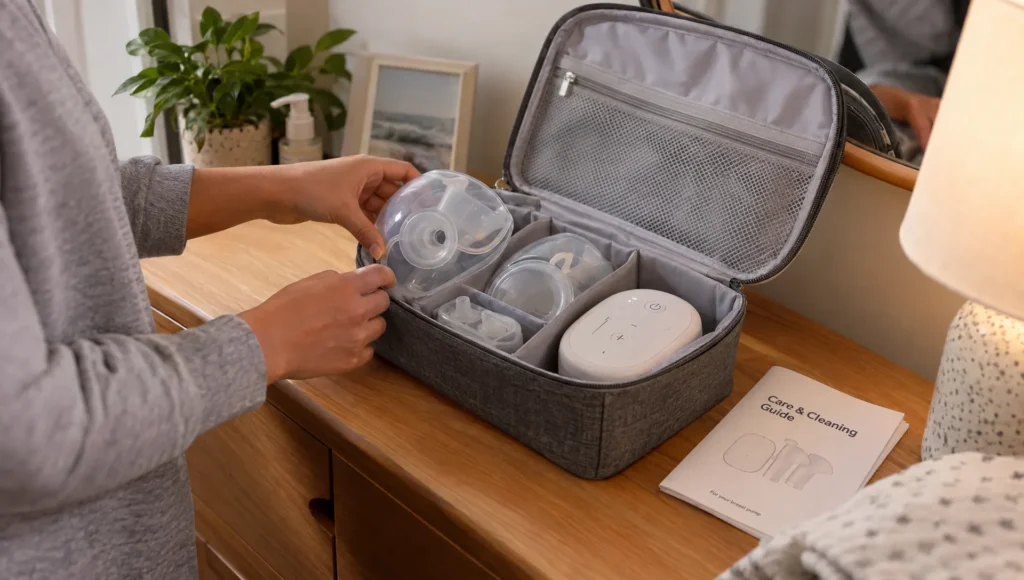
Once the appropriate parts are completely dry, store them in a clean, protected space. Keep the motor separate from any washing equipment or containers that could leak. Avoid leaving the pump loose at the bottom of a bag, where keys, bottles or a laptop can press against cups and connectors.
A protective case or dedicated compartment helps prevent knocks. Pack flexible components so that they are not folded or trapped under heavier objects. Do not leave the pump in a hot car or on a sunny windowsill.
Keep used components separate from clean replacements when travelling. Putting everything back into the same pouch makes it harder to maintain a reliable clean-storage routine.
Troubleshoot weaker suction before replacing the pump
A change in performance deserves a check, but expressed milk volume alone cannot diagnose a mechanical fault. Output can vary with timing, comfort and your individual feeding circumstances.
If the pump feels different, start with the parts you have recently cleaned or reassembled. Our electric breast pump setup guide can help you review assembly and fit before changing settings.
| What you notice | What to check first | What to do next |
|---|---|---|
| Weaker or inconsistent suction | Valve position, membrane seating and cup seals | Reassemble as instructed and replace visibly worn parts |
| Milk leaking from the cup | Assembly, seals, fill level and pumping position | Correct the cause using the model’s instructions |
| Pump will not charge | Approved cable, power supply and a dry, undamaged port | Stop if there is damage; contact support if the problem continues |
| New rattling or unusual noise | Loose external components or incorrect assembly | Stop and seek advice if correct reassembly does not resolve it |
These checks can restore good electric breast pumps to normal operation when the problem is a misplaced seal rather than a failed motor. Do not compensate for a suspected fault by continually increasing suction. Use a comfortable setting and seek feeding support if expressing is painful.
Know when maintenance is not enough
Stop using and charging the pump if you notice a swollen casing, a burning smell, smoke, unusual heat or damaged electrical connections. Contact the manufacturer for advice. Do not open the battery housing or attempt a home electrical repair.
Cracked milk-contact parts, persistent mould or residue that cannot be removed also need attention before further use. If your pump has tubing and milk or moisture enters it, follow the model’s cleaning or replacement instructions rather than assuming it can be rinsed safely.
Keep a brief record of recurring faults, including when they happen and which parts you have checked. Photos of visible damage and your proof of purchase can make a support enquiry clearer. Replacing a worn valve is routine maintenance; repeated shutdowns or moisture inside the motor require a different response.
Keep your pump’s care instructions close
The most useful maintenance habit is to check parts while you are already cleaning them. Let them dry fully, pack them carefully and address small changes before they interrupt your routine.
O&K MUBY wearable electric breast pumps come with a one-year warranty. Keep your purchase details and model information, follow the instructions supplied with your pump and check the warranty terms if a fault develops. Ask for model-specific advice before trying a repair that could damage the unit or make it unsafe.
Frequently asked questions
How long should good electric breast pumps last?
There is no reliable lifespan that applies to every model. Frequency of use, handling, battery condition and replacement-part availability all matter. A warranty period is not a promise of total service life, and consumable parts may need replacing well before the motor does.
Should I sterilise the motor unit?
Do not put the motor in water, a steam steriliser, boiling water or a microwave. Follow its specific exterior-cleaning instructions. Sterilising guidance applies only to components the manufacturer identifies as suitable.
Can I use a damaged valve until a replacement arrives?
A split or distorted valve may not work properly and should be replaced. Avoid temporary fixes with glue or tape, especially on anything that touches milk.
Does stronger suction mean the pump is working better?
Not necessarily. Stronger suction does not guarantee more milk and should not cause pain. Check fit, assembly and component condition instead of using a higher setting to mask a problem.
💙 Keep Pumping Simple with O&K MUBY
Thoughtfully designed wearable breast pumps to fit into your daily routine.
Shop O&K MUBY Breast Pumps